From Drawing to Crate: The 9 Stages of a Villa Interior Production Run
A villa furniture production process is the sequence of nine stages between a confirmed drawing set and a sealed, numbered crate: the drawings get locked, the board and hardware get sourced, panels get cut, edged, drilled and finished, every part gets checked by number, and the finished rooms get packed and staged for the container. Each stage has a job, a checkpoint, and a document that proves it happened. For a buyer on the other side of the table, those nine stages are the difference between watching your villa take shape and simply trusting that it did.
This guide walks through all nine stages in production order, what gets checked at each one, and the few places where runs actually go wrong. It sits next to our factory tour of how numbering and pre-drilling work on the floor, and the BOM reading guide for the document that all nine stages answer to.
In This Guide
- The 9 Stages at a Glance
- Stage 1–2: Locking the Drawing Set, Then Sourcing to It
- Stage 3–5: Cutting, Edges and Hardware
- Stage 6: Finishing
- Stage 7: Quality Control, Part by Part
- Stage 8–9: Packing, Crating and Warehouse Staging
- Where Production Runs Actually Get Stuck
- How to Follow Your Own Run From the Other Side of the Table
- Frequently Asked Questions
The 9 stages at a glance
| # | Stage | What happens | What gets checked |
|---|---|---|---|
| 1 | Drawing lock | Design confirmed, BOM generated, parts numbered | Drawings and BOM signed off, one revision |
| 2 | Material sourcing | Board, edge, finish and hardware ordered to the BOM | Core type, emission class, finish samples, hardware models |
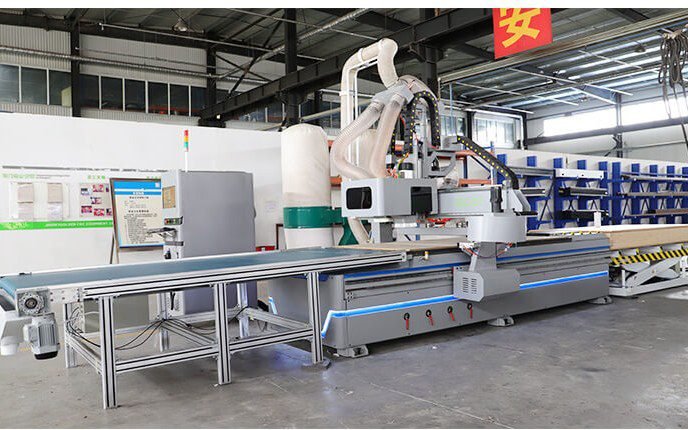
| 3 | CNC cutting | Nesting files cut every panel by number | Dimensions against the BOM, part numbers present |
| 4 | Edge banding | Edges wrapped to the specified edge material | Edge thickness, colour match, bond at stress points |
| 5 | Drilling & hardware | Hinges, runners and connectors positioned | Hole depth and position against the layout |
| 6 | Finishing | Paint, lacquer or laminate surfaces completed | Colour against approved samples, surface defects |
| 7 | Quality control | Every part inspected by number before packing | One part-by-part pass/fail against the BOM |
| 8 | Packing & crating | Rooms packed into numbered crates | Crate contents against the packing list |
| 9 | Staging & handover | Crates staged, audited, loaded | Full BOM audit before the container seals |
That table is the whole process compressed into one view: nine stages, and at every stage a check that can stop a defect before it multiplies. The rest of this article unpacks them.
Stage 1–2: locking the drawing set, then sourcing to it
Stage 1 is the most consequential and the least visible: the drawing lock. Every room’s drawings are confirmed, the bill of materials is generated from them, and each part gets its number. From this moment the BOM is the single source of truth — cutting reads it, purchasing reads it, and quality control reads it. A change after the lock is not a note in the margin; it is a BOM revision, which is why the BOM reading guide stresses that you should sign the document, not just see it.
Stage 2 is sourcing to that document. The board cores, edge materials, finish materials and the named hardware set are ordered against the BOM’s material codes, and incoming stock is checked before it ever reaches the line: the core type and emission class of the boards, the finish against approved samples, the hardware against the models on the list. A run that is clean at stage 2 rarely surprises anyone later; most “production problems” a buyer hears about at the port were actually stock problems that stage 2 missed.
Stage 3–5: cutting, edges and hardware
Stage 3 is where the boards become parts. Nesting files derived from the BOM tell the CNC line which panel comes off which board, in what order, so the cut list minimises waste and every part comes off the machine already carrying its number. The checkpoint is dimensional: parts measured against the BOM before they move on, because a 2 mm error is free to fix at stage 3 and expensive to fix at stage 9.
Stage 4 wraps the edges. Edge banding is unglamorous and underrated — the edge material must match the specified finish for each part, and the bond has to hold at exactly the points a handle pulls and a hinge loads. This is where the finish decision made in our finishing comparison becomes physical: an HPL part, a lacquered part and a melamine part each leave stage 4 looking different and ageing differently.
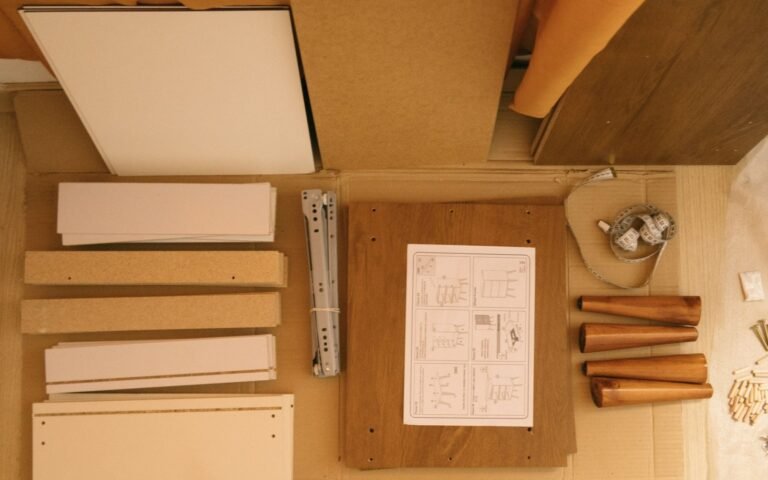
Stage 5 positions the hardware. Hinges, runners, connectors and shelf pins are pre-drilled and set against the layout file, so a door off the line is a door that installs without test-fitting. The factory tour explains the numbering logic in detail; from the process view, stage 5 is the stage where the drawings’ intent stops being geometry and starts being function.
Stage 6: finishing
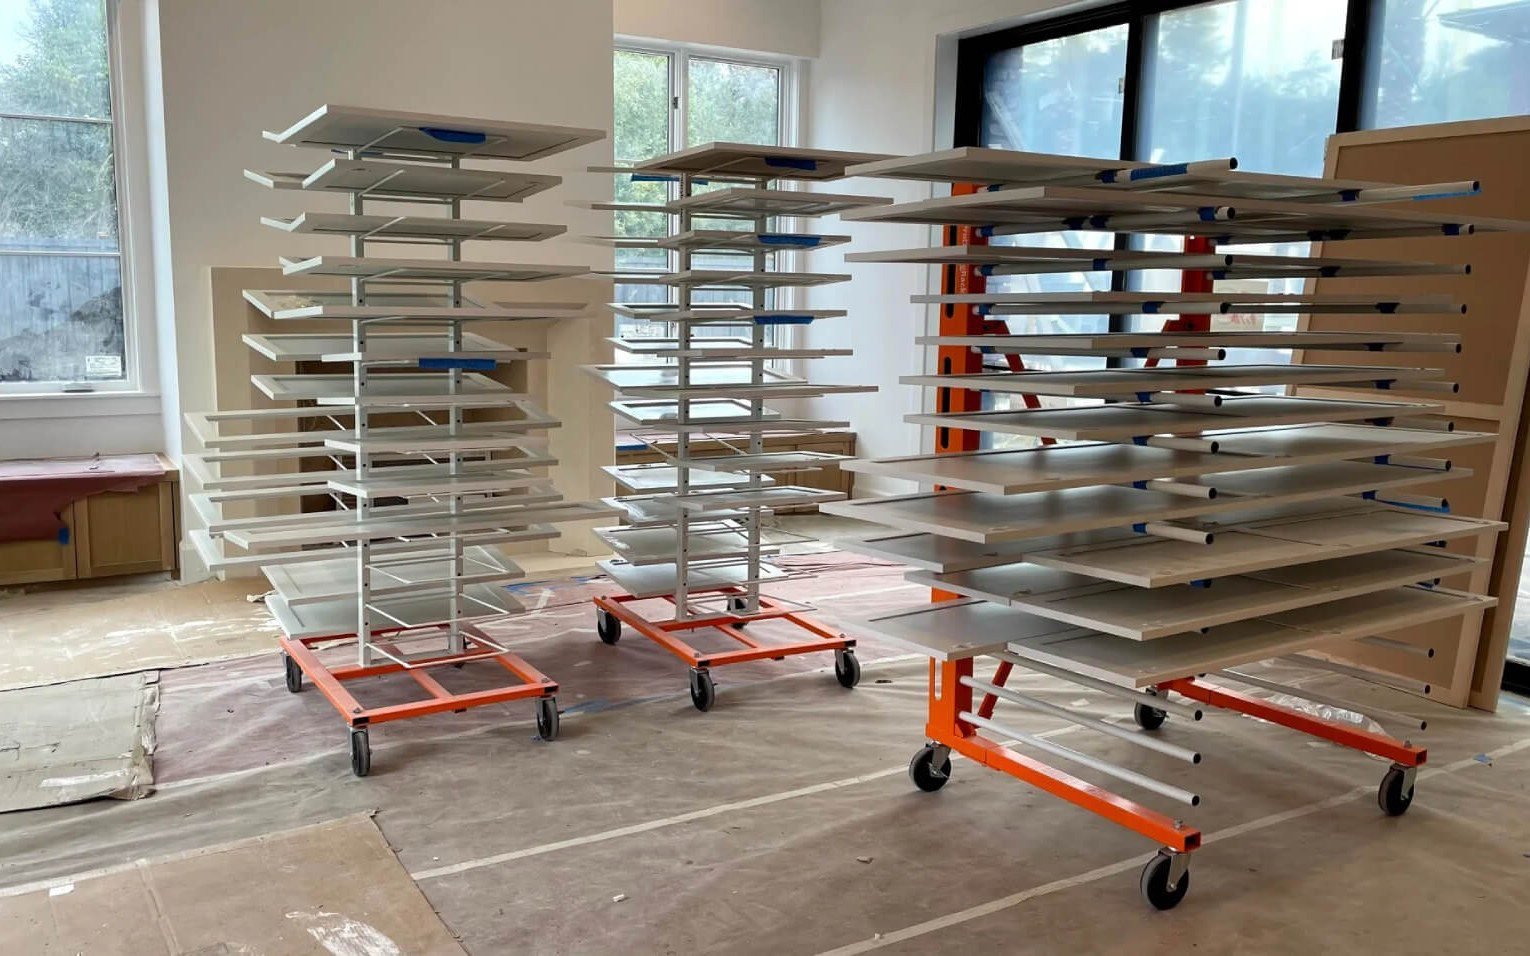
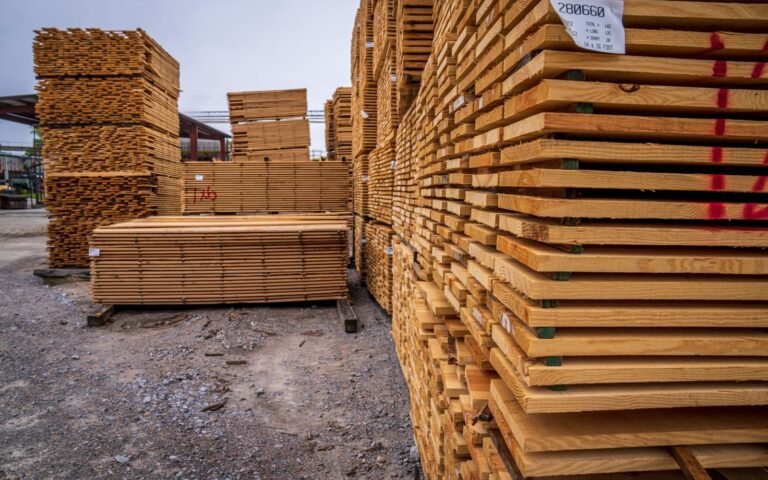
Stage 6 is where a run spends most of its time and where the villa’s look is actually made. Parts that take a painted or lacquered finish move through the spray and drying cycle on racks exactly like the one above: sprayed, dried, inspected, re-sprayed where the sample demands it. Laminate and HPL parts, by contrast, are largely finished by the edge line and move on quickly. That is why a villa with lacquered doors and a painted island takes longer through the factory than a villa in HPL, even when the drawings are identical — the finish system, not the square metres, sets the clock.
The checkpoint at stage 6 is colour against the approved samples, in the light the samples were approved under, plus a surface pass for dust, runs and handling marks. Matching is the quiet part of this stage: every part in the whole villa that shares a finish is produced so it looks like the same object, which is only possible when one factory runs the whole set rather than several factories each running a corner of it.
Stage 7: quality control, part by part
Stage 7 is the numbered inspection. Before any part is allowed into a crate, it is checked by its number against the BOM: dimensions, edge bond, hole positions, finish, and the part number itself readable on the panel. A part that fails is not repaired into silence — it is logged, pulled, and reworked or re-cut from the same nesting, so the record shows where it was and what happened. This is the stage the numbered factory process exists to make: with numbers, a defect is an addressable item; without them, it is a pile of lookalike boards. And this is the checkpoint where a buyer’s patience pays off, because the defects that are cheap to catch here become visible on the wall weeks later.
For the buyer, stage 7 is also the stage you get to see. A run that is photographed part-by-part at inspection — crate by crate, with the part numbers visible — gives you the evidence that your villa is being built to its document, weeks before anything ships.
Stage 8–9: packing, crating and warehouse staging
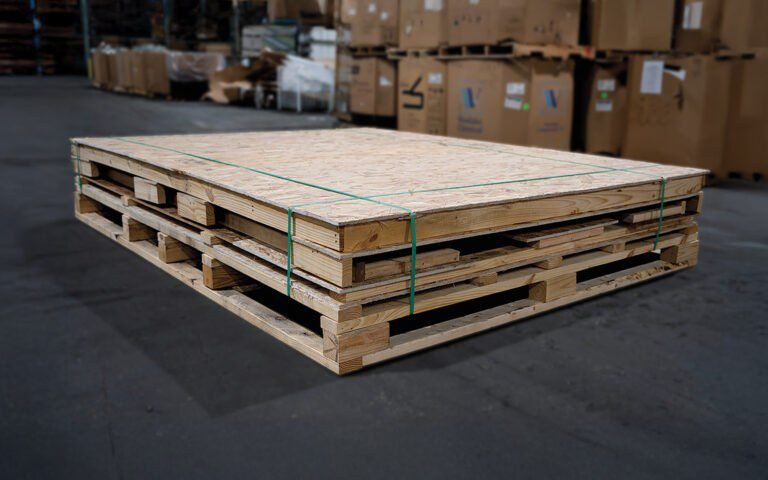
Stage 8 packs the villa room by room into numbered crates, with the protection each material needs: corners for the long parts, the hardware bagged and listed with the room it belongs to, and the packing list written so that crate 14 is a promise about what is inside it. Packing against rooms — not against what fits — is what makes installation a lookup instead of an excavation.
Stage 9 is staging and handover. Crates are stacked in the warehouse, the packing list is walked against the BOM line by line, and the run is audited as a document before it is loaded as freight. Only when the paper is complete does the container seal, and only then does the handover to shipping begin — whether that means an LCL consolidation or a full container, as the LCL vs FCL guide breaks down. A package assembled this way is why a small local crew can install it from crate labels: the complete villa interior package is not a marketing term, it is the output of stages 8 and 9 done to their checkpoint.
Where production runs actually get stuck
Runs rarely fail in one dramatic place; they stall in the seams between stages. A drawing that changes after stage 3 has already cut the old version. A finish approved from a sample that never matches the batch. Hardware that arrives a week late and idles a drilled-and-ready line. A crate that is packed before the packing list is, so the audit at stage 9 finds a mismatch the day the container is booked. The pattern in every case is the same: the stage itself worked, and the hand-off between it and the next one did not. That is why the process is worth reading as a sequence with checkpoints instead of as a factory photo. Knowing the nine stages lets a buyer ask the one question that matters at every boundary: what is the document that proves this stage is done. None of the failures above needs a better factory; each one needs a better seam, and a seam is just a document, a check, and a date.
How to follow your own run from the other side of the table
You do not need to be in the building to see the process work. The checkpoints above are all document-and-photo checkpoints, which means a run can be reported at each one: the locked BOM at stage 1, the stock check at stage 2, dimensional photos at stage 3, edge and drill verification at stages 4–5, finish photos against samples at stage 6, the numbered inspection at stage 7, and crate-by-crate photos at stages 8 and 9. That reporting chain is what the shipping guide picks up when the crates finally leave the warehouse. Ask for the chain before the first deposit: a run that can report its checkpoints will, and a run that cannot is telling you something early. If any checkpoint feels unclear, it belongs in the FAQ conversation before you sign — not in an argument after the container seals.
Frequently asked questions
How long does a villa interior production run take?
It is measured in weeks rather than days, and the finish system sets the range: a run in HPL or melamine moves through finishing quickly, while painted or lacquered doors spend their time on the racks. The stage sequence itself is the same either way; what changes is how long each part spends at finishing and drying.
Which stage takes the longest?
For most villa runs, finishing does. Spray, dry, inspect and re-spray cycles repeat until the part matches the approved sample, and drying is a physical clock you cannot negotiate. That is why finish choice is a schedule decision as much as a design decision.
Can I see my parts before they are packed?
Yes. Stage 7 is a numbered, part-by-part inspection, and a run can be reported at that checkpoint with photos showing part numbers, dimensions and finish. Crate-by-crate photos at stages 8 and 9 confirm the packing against the list.
What happens when a part fails quality control?
It is logged by its number and pulled from the run. It is reworked, or re-cut from the same nesting and material batch so the replacement matches its neighbours, and the record keeps the failure and the fix together — no silent swaps, no lookalike boards.
Can drawings change once production has started?
They can, but the change lands at the drawing lock, not at the machine. After cutting has started, any change is a BOM revision: re-nested cutting, re-sourced materials where affected, and a revised packing list — which is why the lock exists and why changes get priced as revisions.
How does one run coordinate a whole villa?
Through one numbering system and one BOM. Every room, from the kitchen to the last wardrobe, is produced and packed under the same part numbers, so staging can audit the entire villa as a single document before it becomes a container’s worth of crates.
Send us your drawings or your floor plan and we will map your run: the nine stages, the checkpoints, and the document at each one.